Start with a reliable project
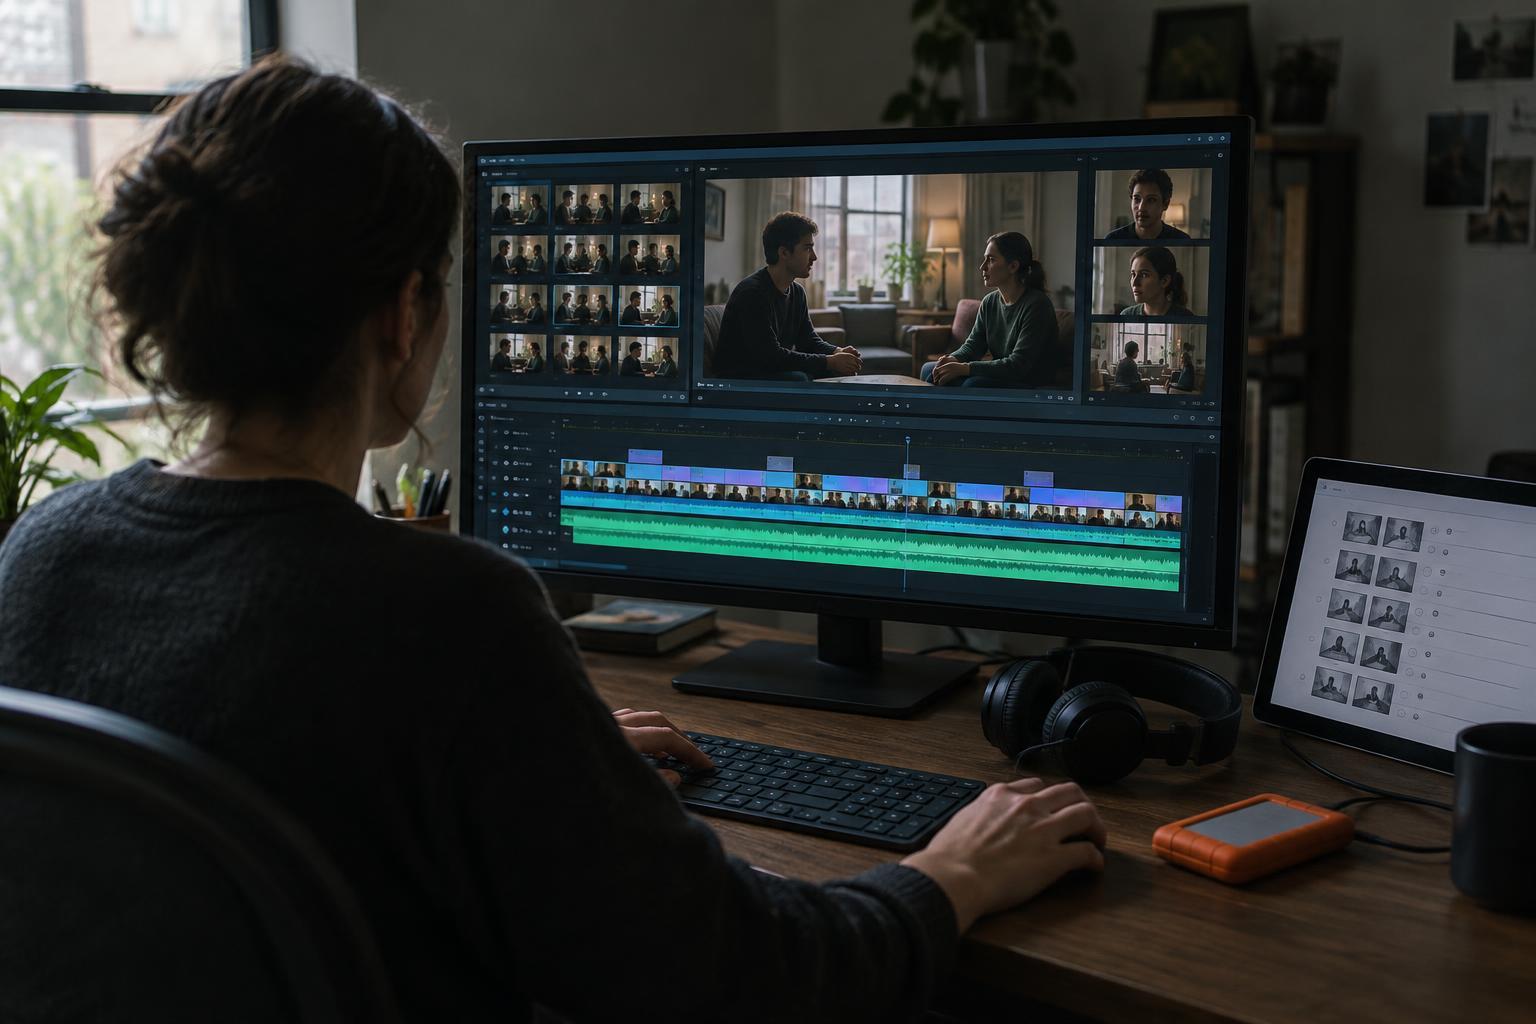
The first job of a rough cut is to reveal the shape of the story, not to prove that every transition can be perfect. Before making creative choices, set up a project you can navigate. Keep the original media in a stable location, use clear names for scenes and sequences, and make a separate editing sequence rather than cutting directly into an imported camera clip. Save versions as you reach milestones so an experiment does not erase an earlier approach.
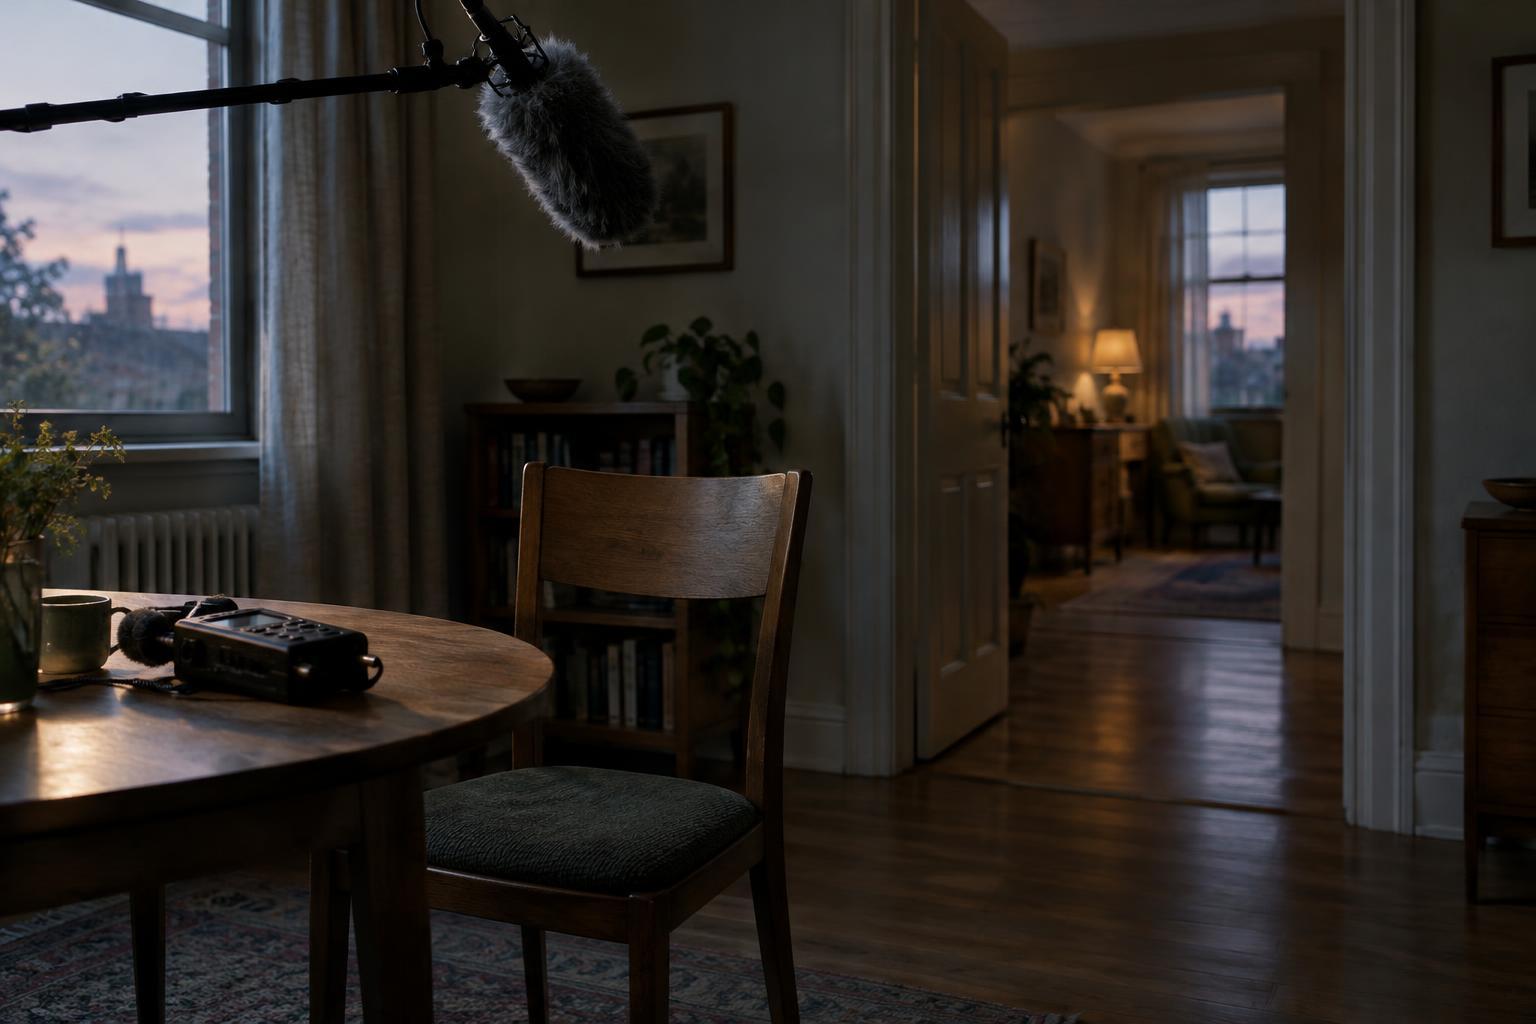
If picture and sound were recorded separately, sync them before building scenes. Match clips using a shared time reference when one is available, or line up a visible clap with its sound. Check the result at the beginning and near the end of a take; a match that starts correctly but drifts may indicate a recording or interpretation issue. Label synced clips so you can tell them apart from camera originals, and keep the original audio accessible in case the preferred track has a problem.
Watch the footage before choosing favorites
It is tempting to begin with the first attractive shot. A complete viewing is more useful. Watch each scene’s takes and note what changes between them: performance, pacing, camera position, movement, background activity and sound quality. A take with a small visual flaw may contain the clearest emotional turn; a beautiful close-up may not connect to the action on either side of it.
Mark promising ranges or place copies in a selects sequence, but avoid trimming them too tightly. Leave space before and after an action or line so you can decide later when a moment truly begins and ends. For dialogue scenes, identify at least one take or angle that can carry the scene from start to finish. It provides a dependable base while you test other angles. If coverage is limited, note the gaps now rather than trying to conceal them with hurried cuts.
Assemble each scene for meaning
Build a simple scene assembly in script order. Choose the performances that communicate the essential action and relationships, then place them on the timeline with straightforward cuts. Keep usable pauses, entrances and exits until you understand their function. A rough scene that runs long is easier to evaluate than one that has lost an important reaction because you tightened it too early.
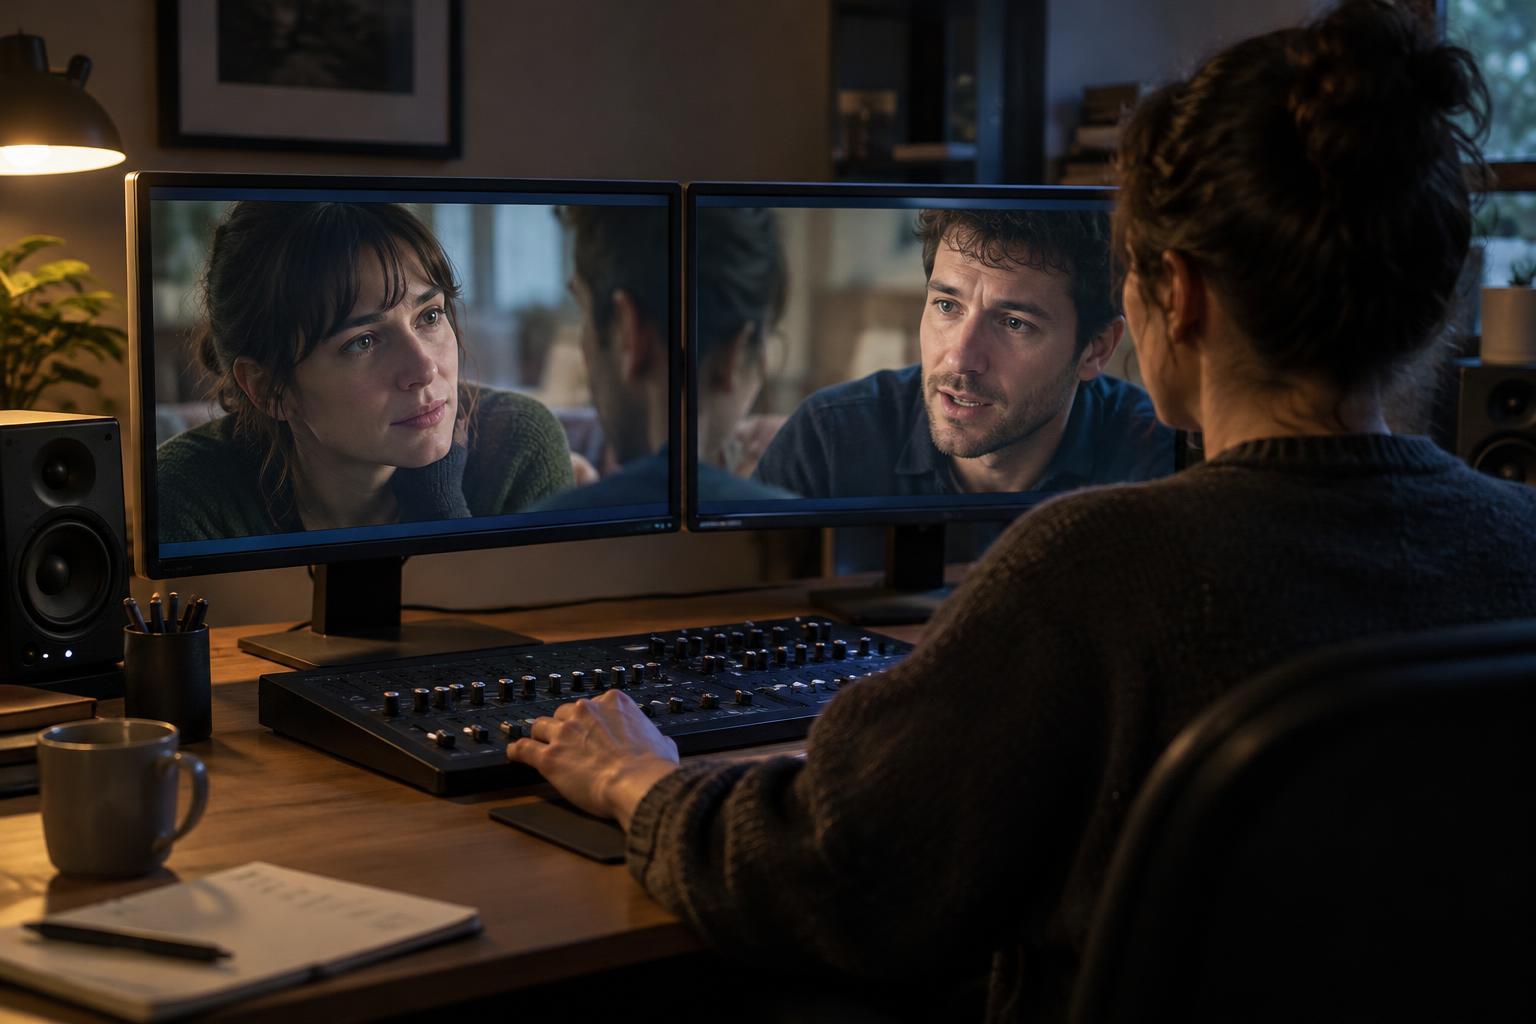
Think of each cut as a shift in attention. A wide shot might establish where people are; a closer view might reveal what one person makes of a remark. You do not need to use every setup, and you do not need to cut whenever someone speaks. If a reaction changes how the audience understands a line, give it room. When two shots do not join cleanly, try a different entry point or stay longer on one angle before reaching for an effect. Mark unresolved problems so you can continue assembling.
Join scenes into a complete first pass
Once the individual scenes are understandable, put them in story order and watch the film from beginning to end. Use temporary placeholders for missing inserts or sound if necessary, clearly labeled so they cannot be mistaken for final material. At this stage, completion matters more than polish: a full assembly exposes questions that isolated scenes cannot, such as whether a setup arrives too late or a repeated beat slows the larger sequence.
Take notes during playback rather than stopping for every correction. Separate them into story, pacing, picture and sound questions. For example, “Why does this character leave?” is different from “This pause feels long.” The first may require another piece of existing footage or a changed scene order; the second might be solved by trimming. Keeping those problems distinct helps prevent a cosmetic fix from covering a storytelling issue.
Use sound and revisions to clarify, not decorate
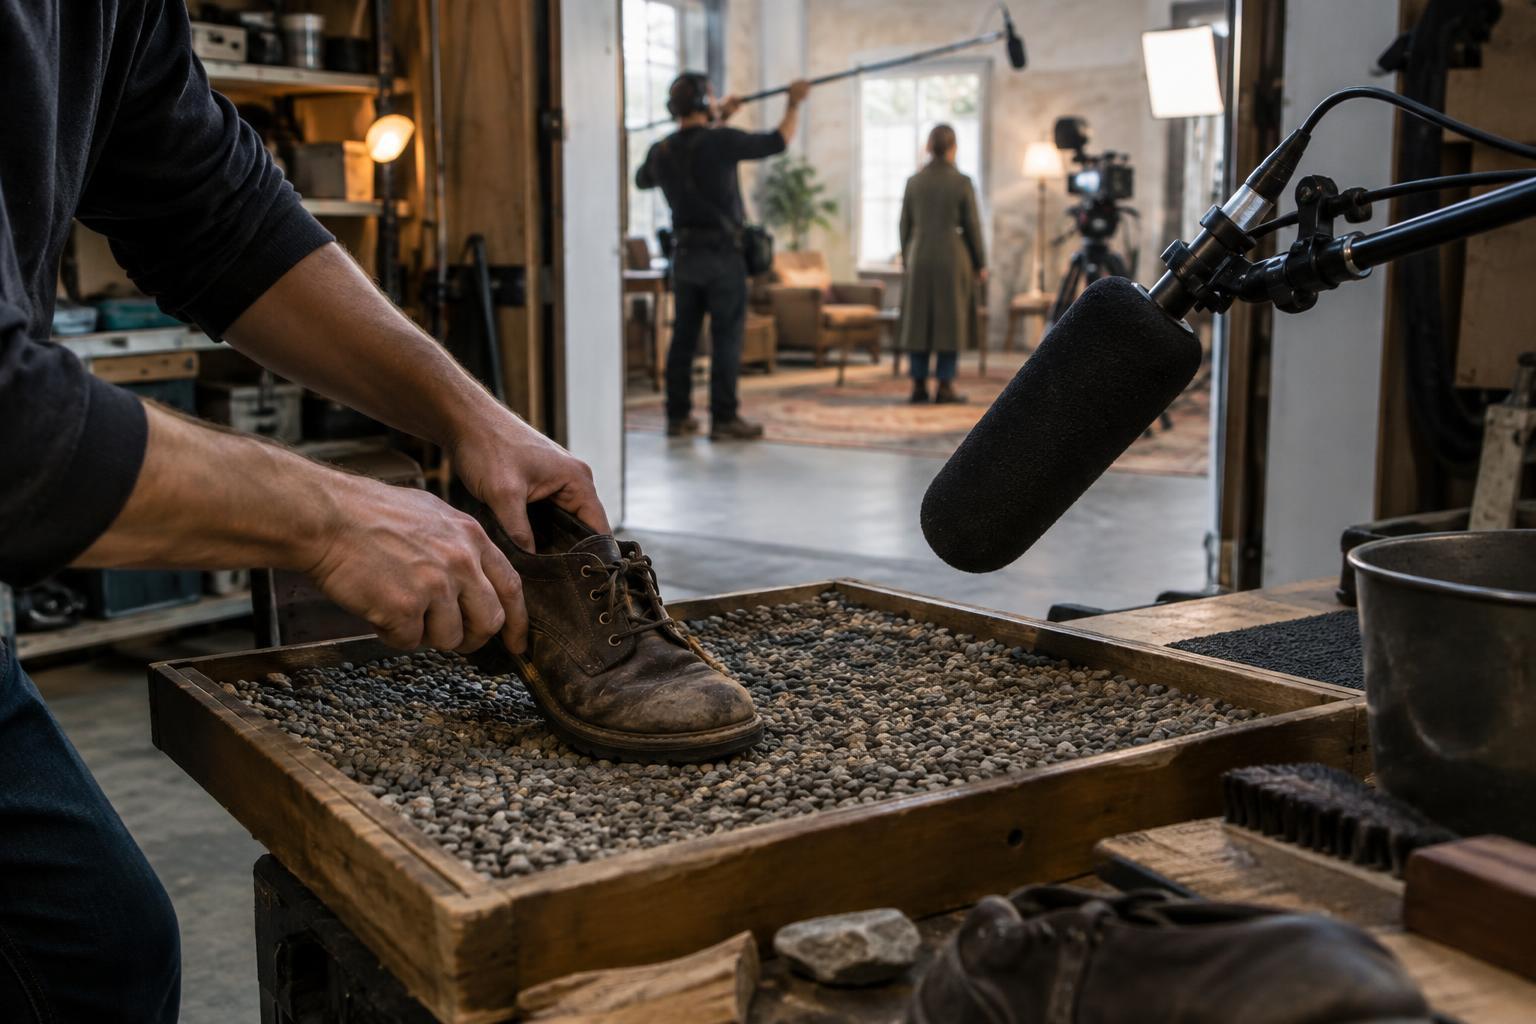
Sound deserves attention even in an early cut because unclear dialogue can make a sound story seem confusing. Choose the most intelligible available track, keep levels reasonably consistent for playback and note distracting noise. Simple room tone or temporary ambience may help you hear a transition, but elaborate sound design can wait. If temporary music is doing all the emotional work, watch the scene without it to see whether the performances and timing still carry the moment.
After the full viewing, make one revision pass around the most important story questions. Then test pacing: where does attention drift, and where does a cut arrive before an idea lands? Preserve the first assembly as its own version. A rough cut is a working argument about what the footage can say, not a verdict on what the finished film must be. Its value lies in giving you something complete enough to question, compare and improve.