Start with the detail the audience needs
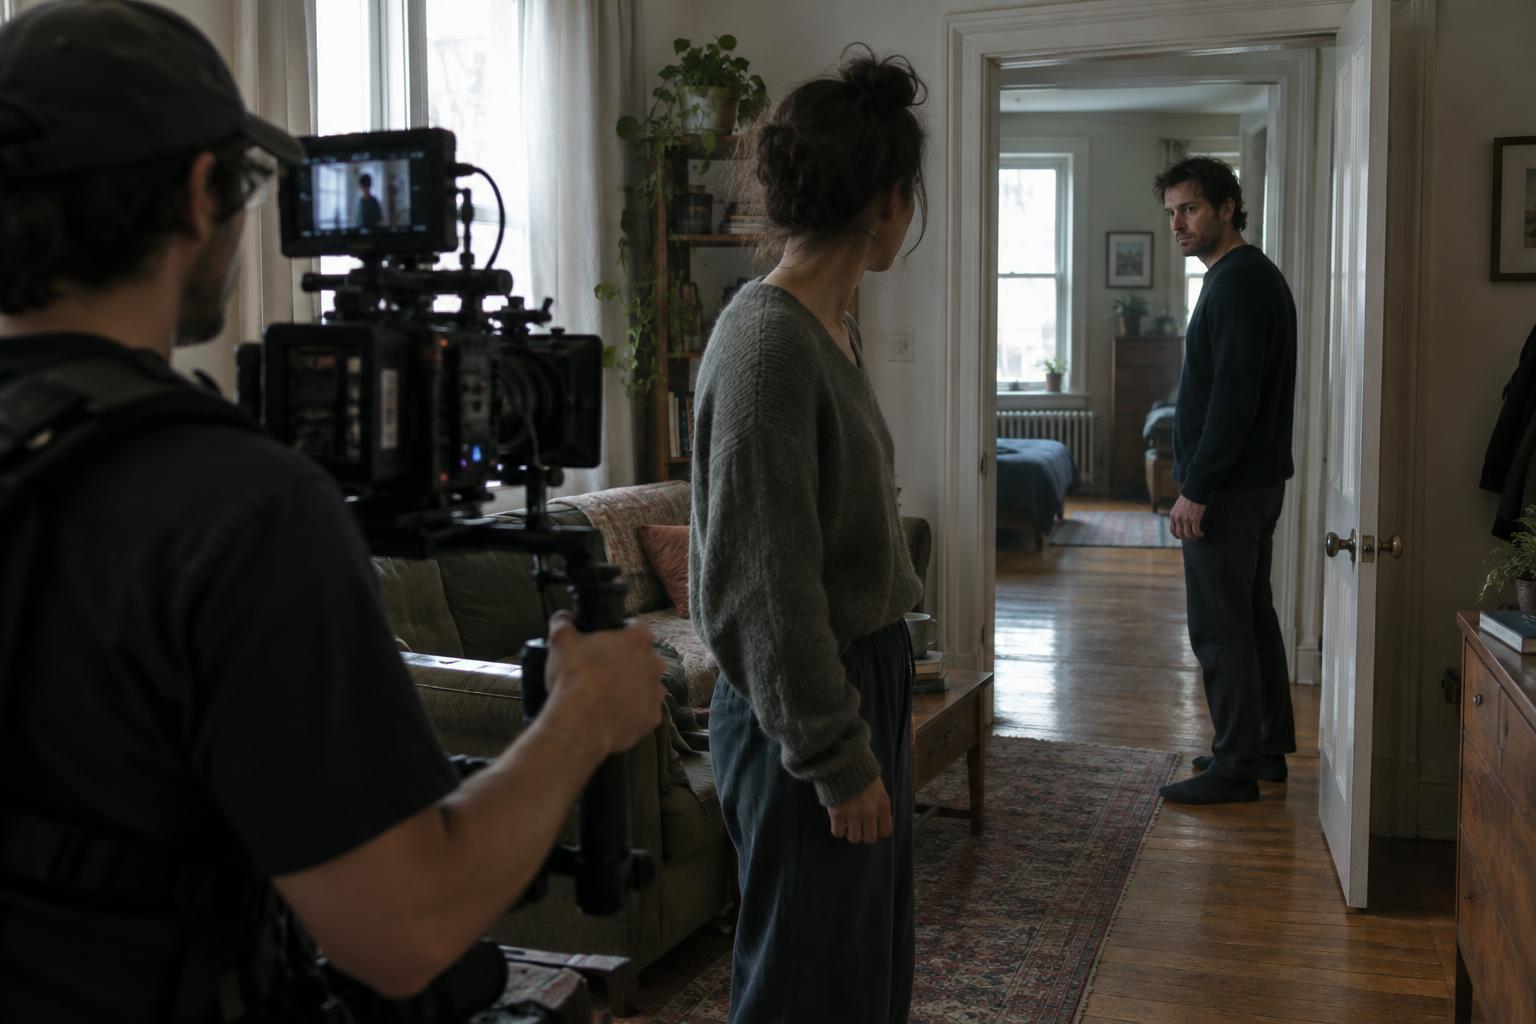
Exposure is the amount of light recorded in an image, but a useful exposure is not simply an image that looks evenly bright. A character may stand in a dim hallway while a window glows behind them. If the window turns white, that may be acceptable. If the character’s expression disappears into darkness just as they make a decision, the scene may lose its point. Before changing a camera setting, ask which parts of the frame the audience needs to read.
Cameras can record only a limited range between the brightest and darkest usable tones in a shot. Detail lost in a severely overexposed highlight or deeply underexposed shadow may be difficult or impossible to recover later. This does not mean every part of the frame must retain detail. A featureless silhouette or bright practical lamp can be expressive. The distinction is whether that loss is a deliberate choice or an unnoticed consequence.
Understand what the controls change
Aperture, shutter time and ISO all affect exposure, but each has another visual consequence. Opening the aperture lets in more light and generally reduces depth of field, which can separate a face from its surroundings. A longer shutter time lets in more light but changes how motion blurs. Raising ISO changes the camera’s sensitivity setting or signal handling; depending on the camera, it may make noise more apparent or alter how much highlight and shadow detail is available.
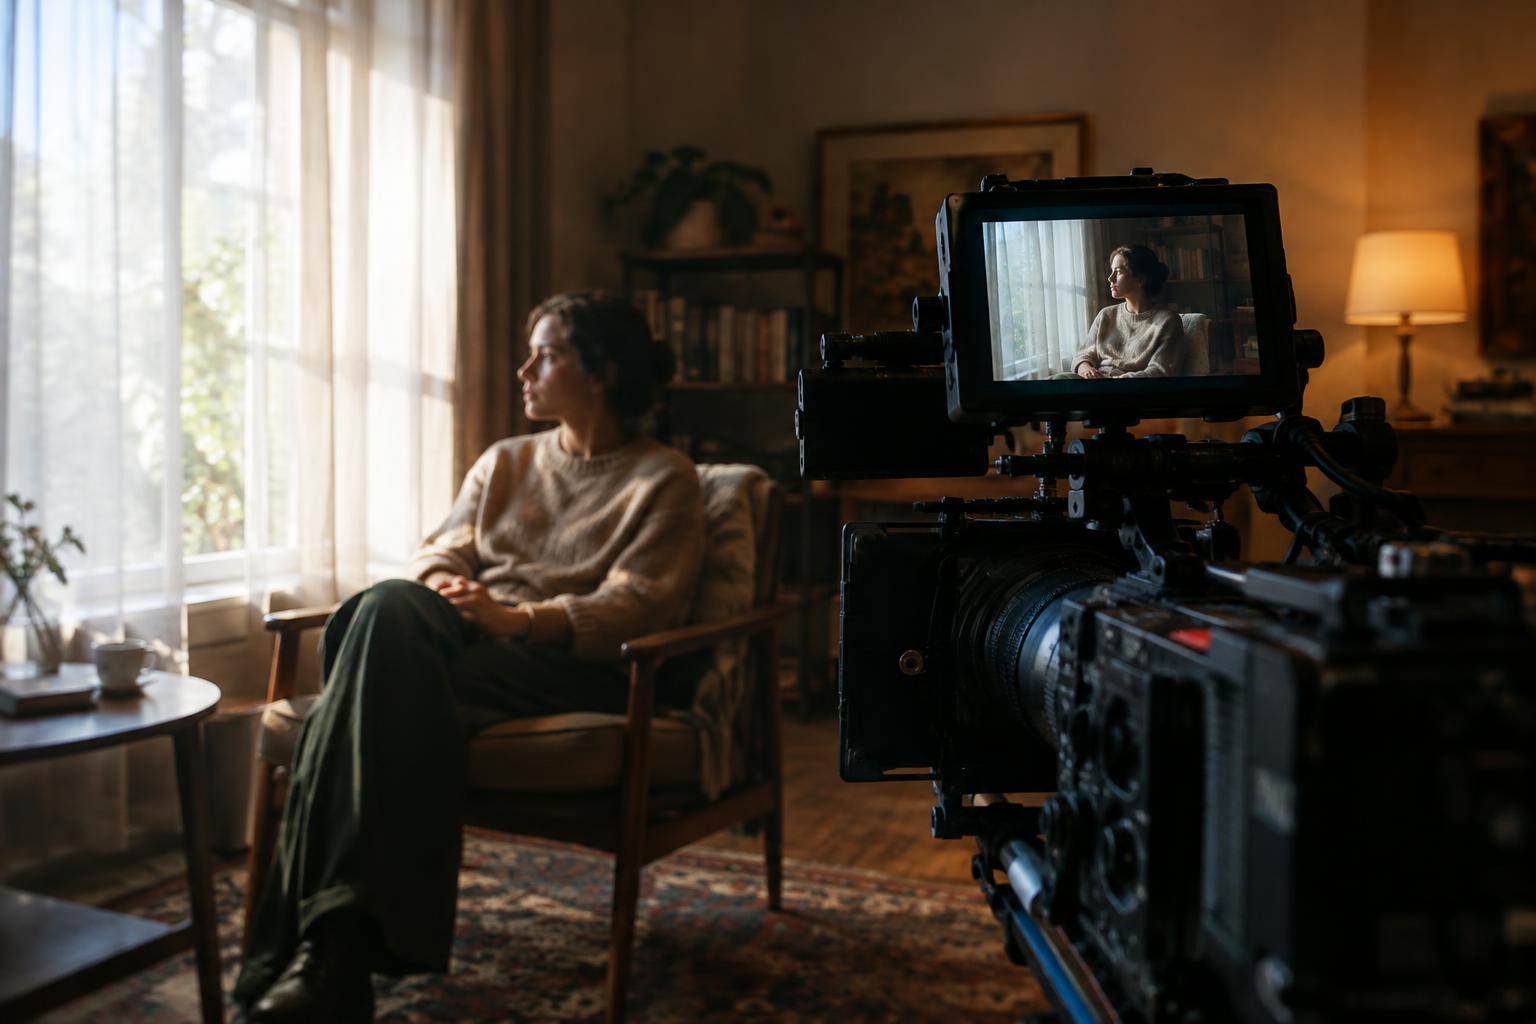
Neutral-density filters reduce the light reaching the camera without requiring a smaller aperture or shorter shutter time. Lighting, blocking and camera position offer further choices. Turning an actor toward a window can reveal their face while preserving the room’s mood. Flagging a bright patch can quiet a distraction. These changes may serve the scene better than adjusting a setting that also changes focus or motion.
Read the image, then check the tools
A monitor is essential for judging the emotional effect of a shot, but its brightness and viewing conditions can mislead you. A histogram summarizes how tones are distributed from dark to bright; a pileup at either end can prompt a closer look, though it does not tell you whether the affected area matters. Zebras mark areas that pass a chosen brightness threshold. A waveform shows brightness across the width of the frame, helping you locate a bright window or a face that is falling into shadow.
None of these displays can decide what the shot should feel like. A small lamp might trigger a highlight warning without causing a problem, while a pale costume may need visible texture even if the actor’s face looks fine. If you record in a flat-looking profile such as log, use a suitable viewing transform when judging the intended appearance, and learn how your camera’s monitoring tools relate to the recorded image. Check the actual areas at risk rather than treating any single meter reading as a verdict.
Choose what to protect when contrast is high
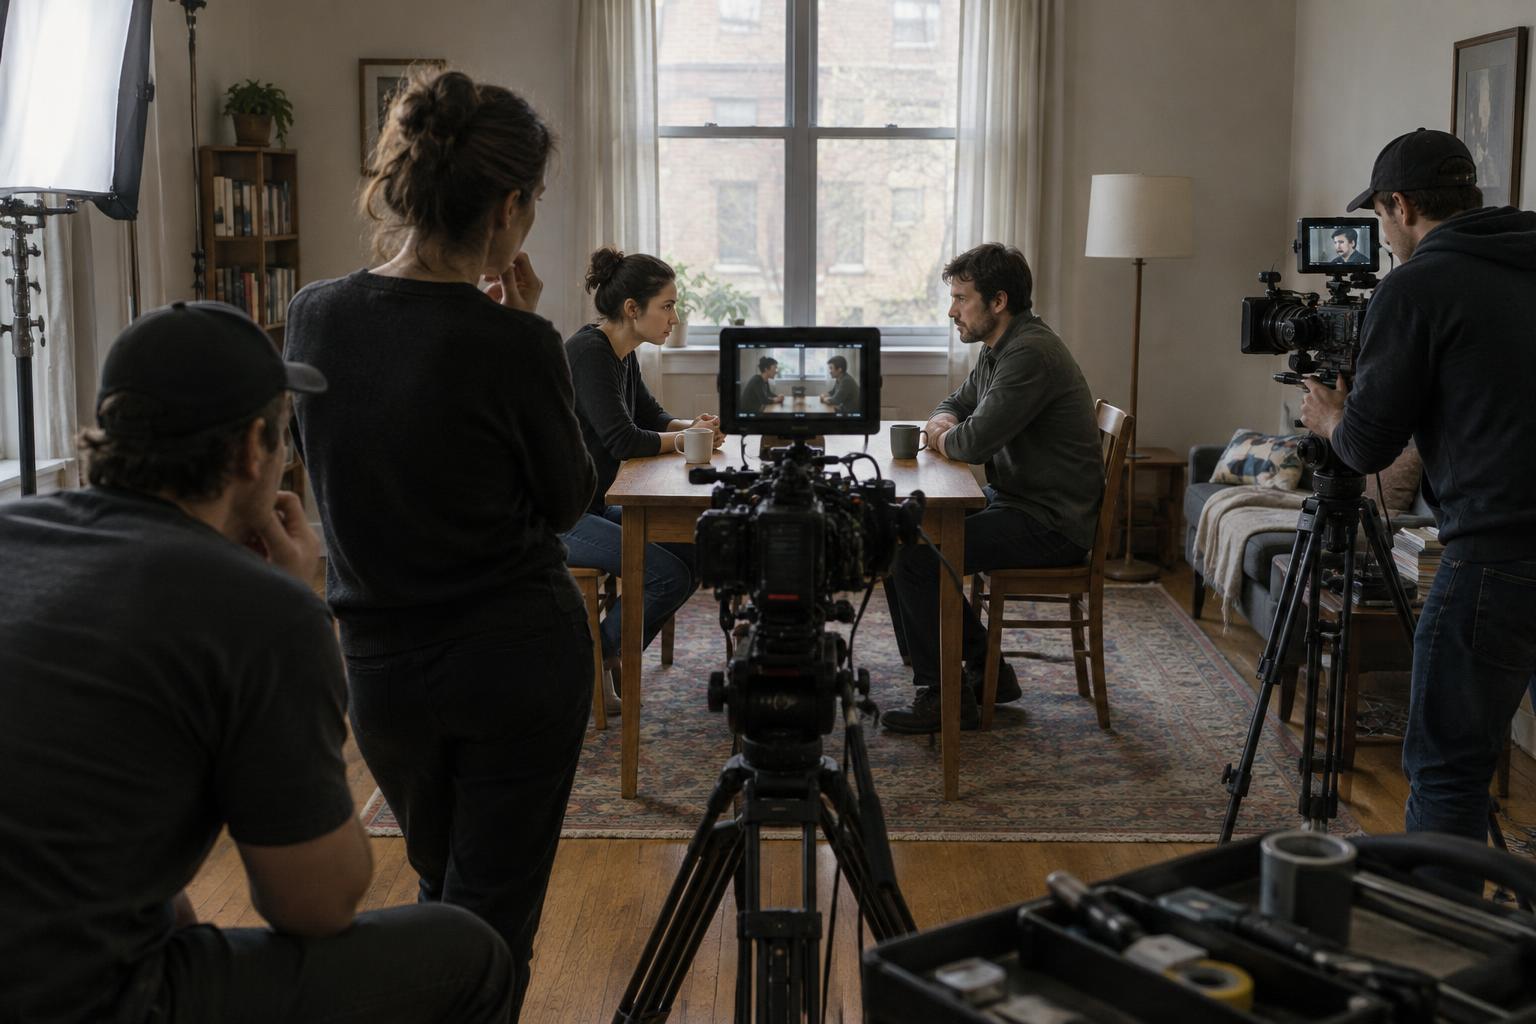
Imagine an actor at a kitchen table, with daylight through a window behind them. Exposing to show the garden may leave the actor too dark; exposing for the actor may erase the view. First decide whether the garden carries story information. If it does, you might move the actor nearer the window, add gentle fill to their face, change the framing or wait for softer light. If it does not, a bright window may help keep attention on the actor.
The same reasoning applies to shadows. You do not need to brighten every corner of a tense room. You may, however, want to retain a hint of a doorway if the audience must notice someone standing there. Protecting detail means protecting useful detail. Look for texture in the places that carry performance, action or setting, and allow less important areas to simplify when that strengthens the composition.
Keep the choice consistent across a scene
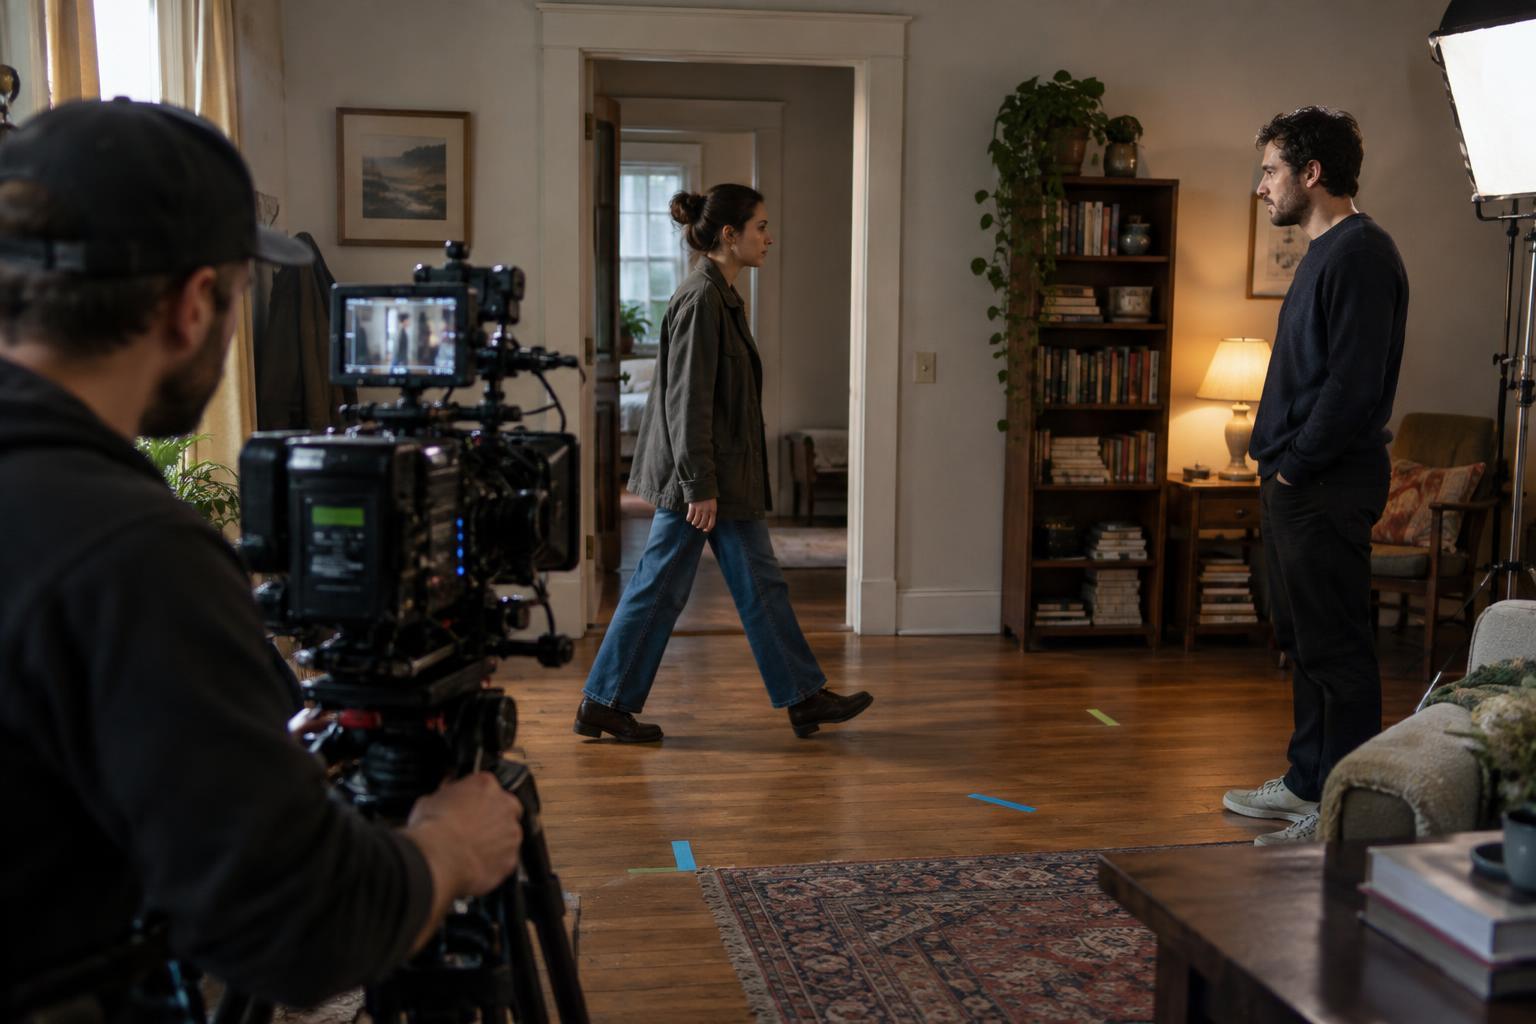
An exposure decision rarely stands alone. In an edited conversation, a face that shifts noticeably in brightness between angles can distract from the exchange, even when each shot looks appealing by itself. Compare the shots that will cut together. Watch for changing daylight, actors moving into different light, and bright objects that become prominent only in one angle. Record a reference image or note the intended look so the next setup follows the same visual logic.
Before moving on, review a short recording rather than relying only on a paused frame. Check faces as actors turn, highlights as the camera moves, and dark areas during action. Exposure can guide attention, conceal information and shape a scene’s emotional distance. The goal is not to preserve every visible detail. It is to know what the viewer needs to see, then make the camera’s limits part of the storytelling choice.