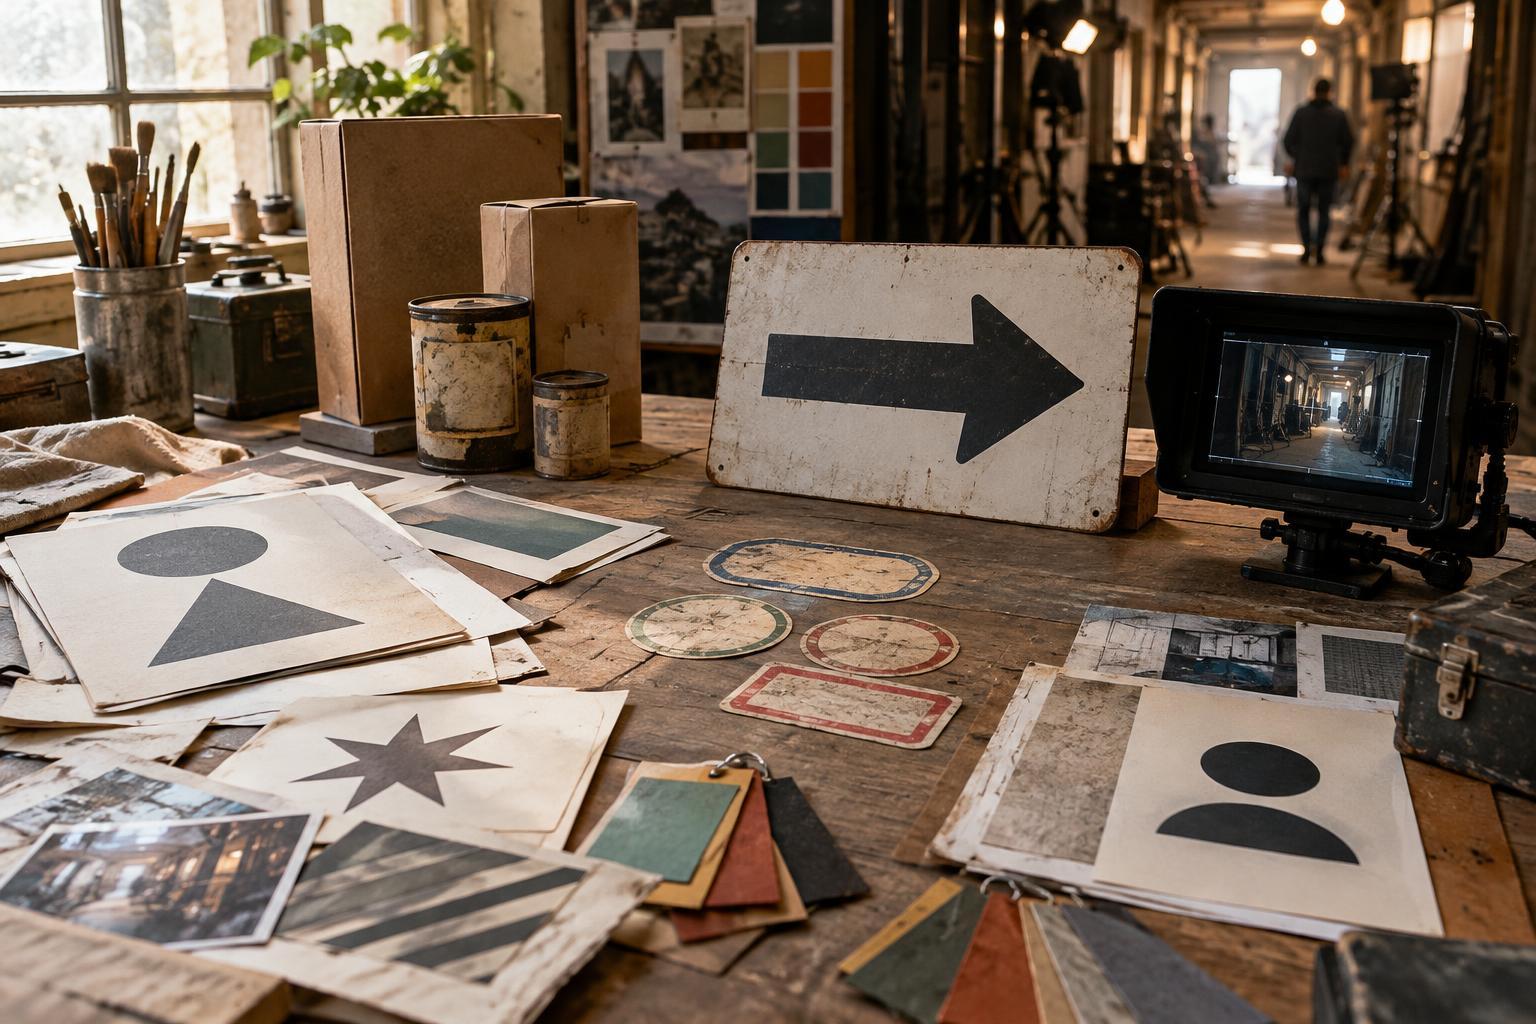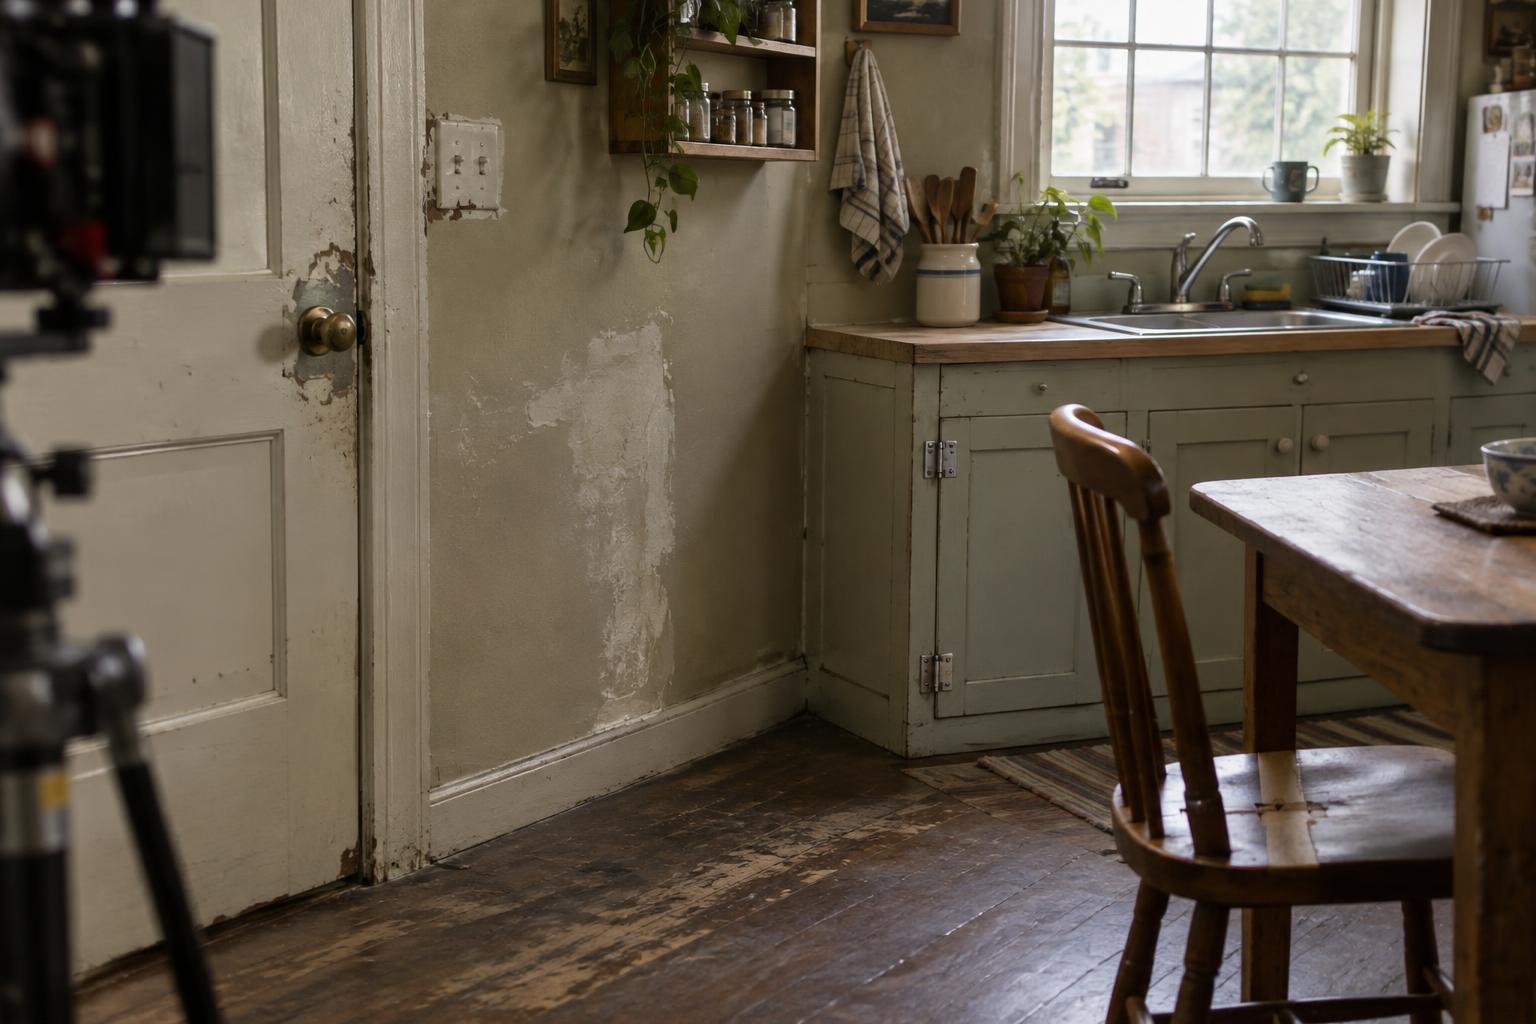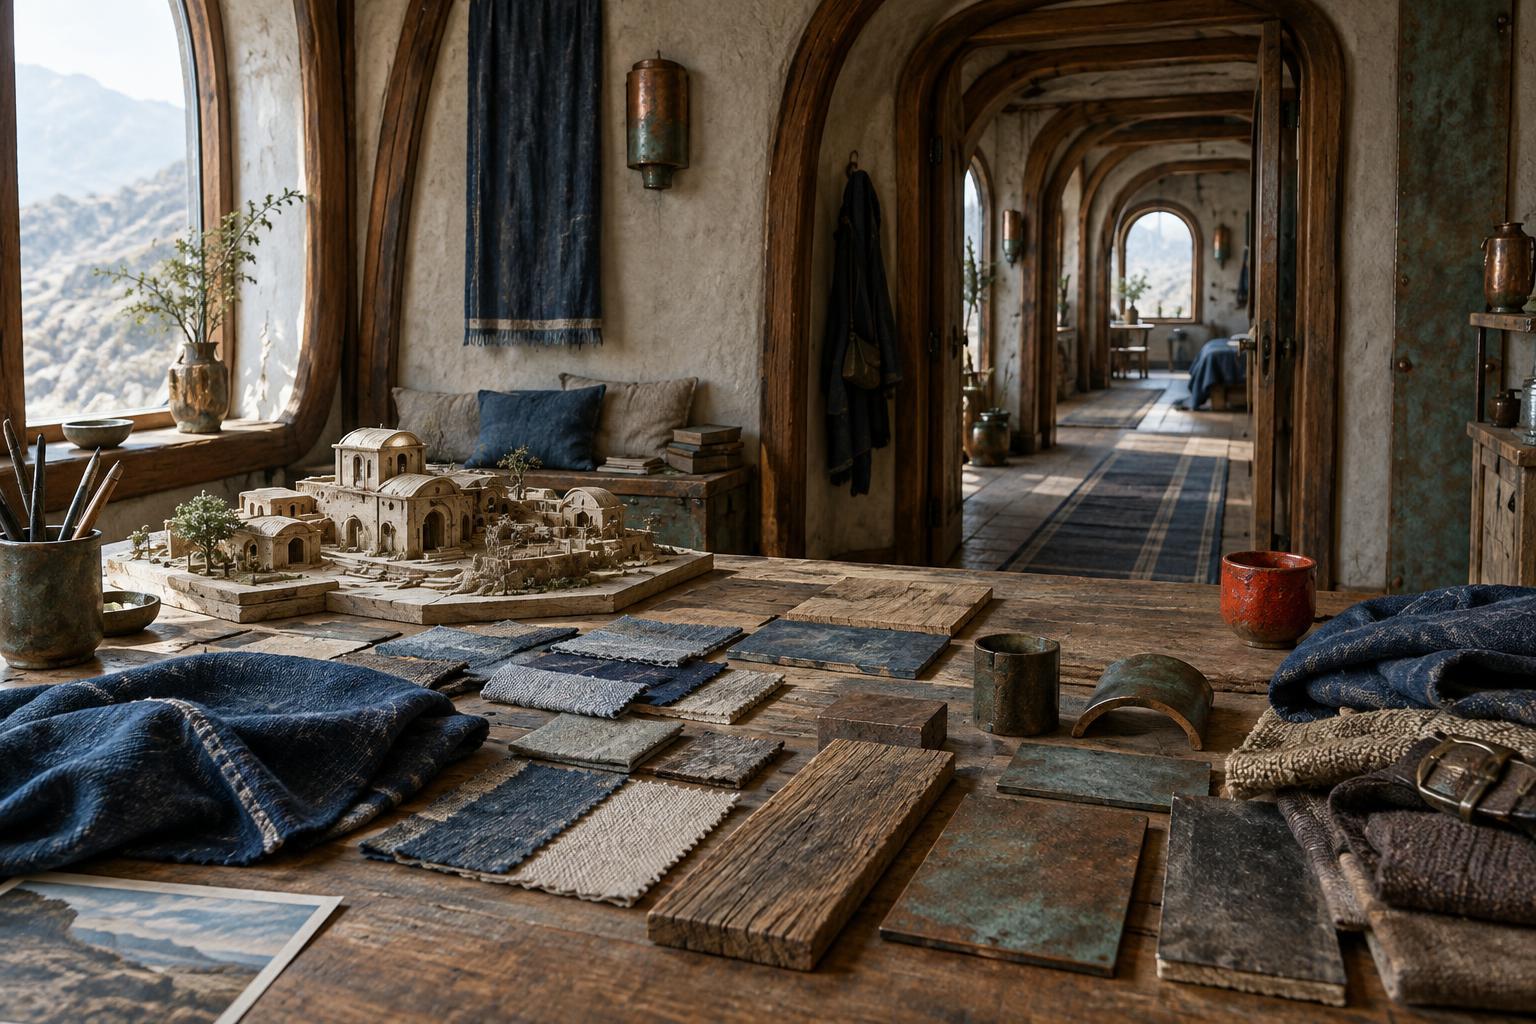
Start with the story, not the furniture
When a script calls for several interiors but the budget allows only one location, the first question is not how to hide the room. It is what each scene needs the audience to understand. A cramped office, a welcoming kitchen and an impersonal waiting area can all come from the same space if each has a different dramatic function. Write a short description of the mood and essential action for every proposed set before choosing props.
List what the camera must see: a doorway for an entrance, a table for a confrontation, or a window that motivates a character’s glance. Then identify what can remain off-screen. A location does not have to withstand a full tour; it has to support the shots in the scene. This distinction can save time and keep the design focused on details that will actually appear in the film.
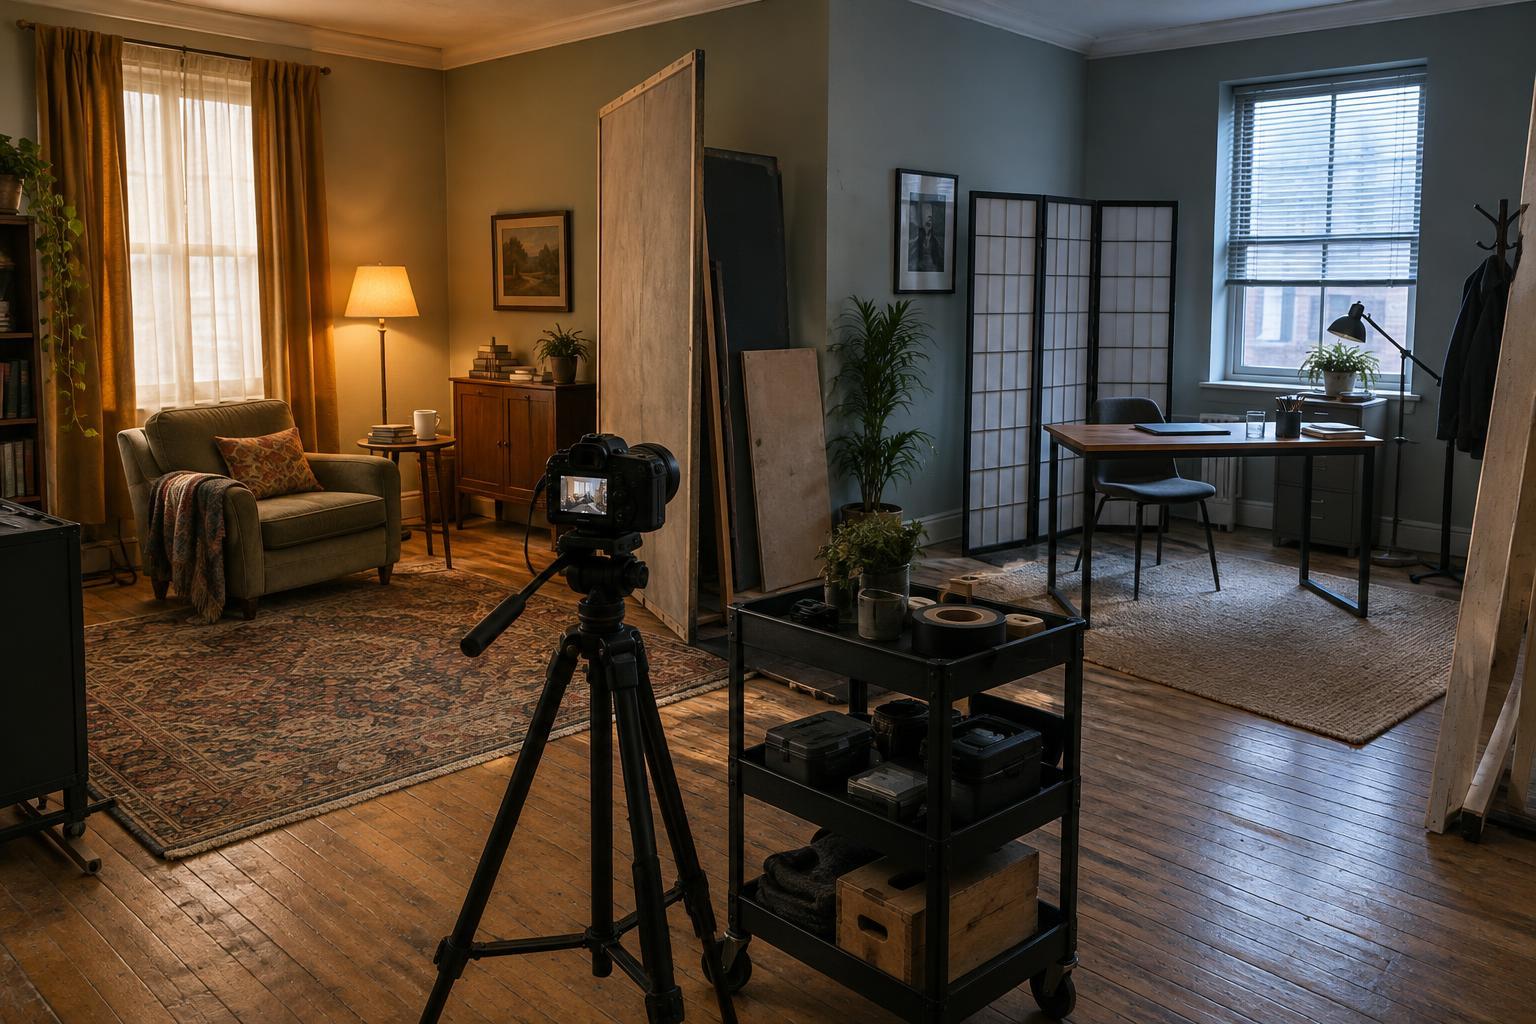
Map the room into separate visual zones
Scout the location with a floor plan, measurements and photographs from likely camera positions. Note the fixed features you cannot easily change, such as windows, outlets, built-in shelves and doorways. Look for corners that have different backgrounds or receive light from different directions. One wall might become an office behind a desk, while another becomes a domestic space around a dining table.
Plan each set around a few useful angles rather than trying to disguise every wall. A tighter frame can exclude a recognizable window; a lower camera position can replace a distracting ceiling with a dressed wall. Keep enough space for performers, camera movement and crew access. A design that works only in a still photograph may fail once an actor stands up or crosses the room.
Give each set its own visual grammar
The strongest transformations change more than objects. Assign each setting a simple visual rule: one uses warm fabrics and uneven, personal clutter; another uses straight lines, bare surfaces and cooler colors. These choices help viewers read a new place quickly, even if they never notice the individual props. Avoid making every set equally detailed. A crowded family room and a sparse interview room will feel more distinct than two rooms with different posters but identical layouts.
Use lightweight, reversible elements where possible: curtains, rugs, table coverings, freestanding shelves and practical lamps. Place the most identifying objects near the actors or behind the main action, where they are likely to appear in multiple shots. Small details can suggest a wider world—a stack of forms, a worn cushion, a carefully arranged place setting—without requiring the camera to show an entire building.
Coordinate design with light and camera
Production design becomes more convincing when lighting and framing reinforce it. The same corner can feel open in a wide composition with soft daylight and confined in a closer composition with much of the background in shadow. Changing which lamp appears in frame can also help establish a different setting. Test these choices with the actual camera, or with a rough stand-in frame, before committing to a full redress.
Do not treat darkness as a substitute for design: the audience still needs enough information to understand the space and follow the action. Watch for recurring architectural clues, especially a distinctive window or trim that appears in supposedly unrelated places. If a feature cannot be concealed, give each scene a different relationship to it through blocking, angle or depth of field. The goal is not to make the location unrecognizable at any cost, but to prevent its repeated use from distracting from the story.
Schedule the transformations like scenes
A convincing plan can collapse if each changeover takes longer than expected. Group scenes by set configuration when the story and schedule permit, and photograph every finished arrangement before striking it. Record prop positions, furniture distances and which items belong to each version of the room. Label boxes by set, not just by object type, so the next setup does not begin with a search for the right lamp or papers.
Protect the location as carefully as the images. Check what may be moved, attached or covered, and favor methods that can be removed without damage. Keep exits and working paths clear, and account for cables and heavy furnishings when planning a reset. Finally, leave time for a camera check after each transformation. A set that looks distinct to the crew in person may still resemble the previous one on screen. That quick review is an opportunity to change a background, angle or key prop before the scene is filmed.